The Applications Installer allows you to install over 50 applications with just a few clicks and saves you the hassle of the time-consuming and sometimes complicated installation process.
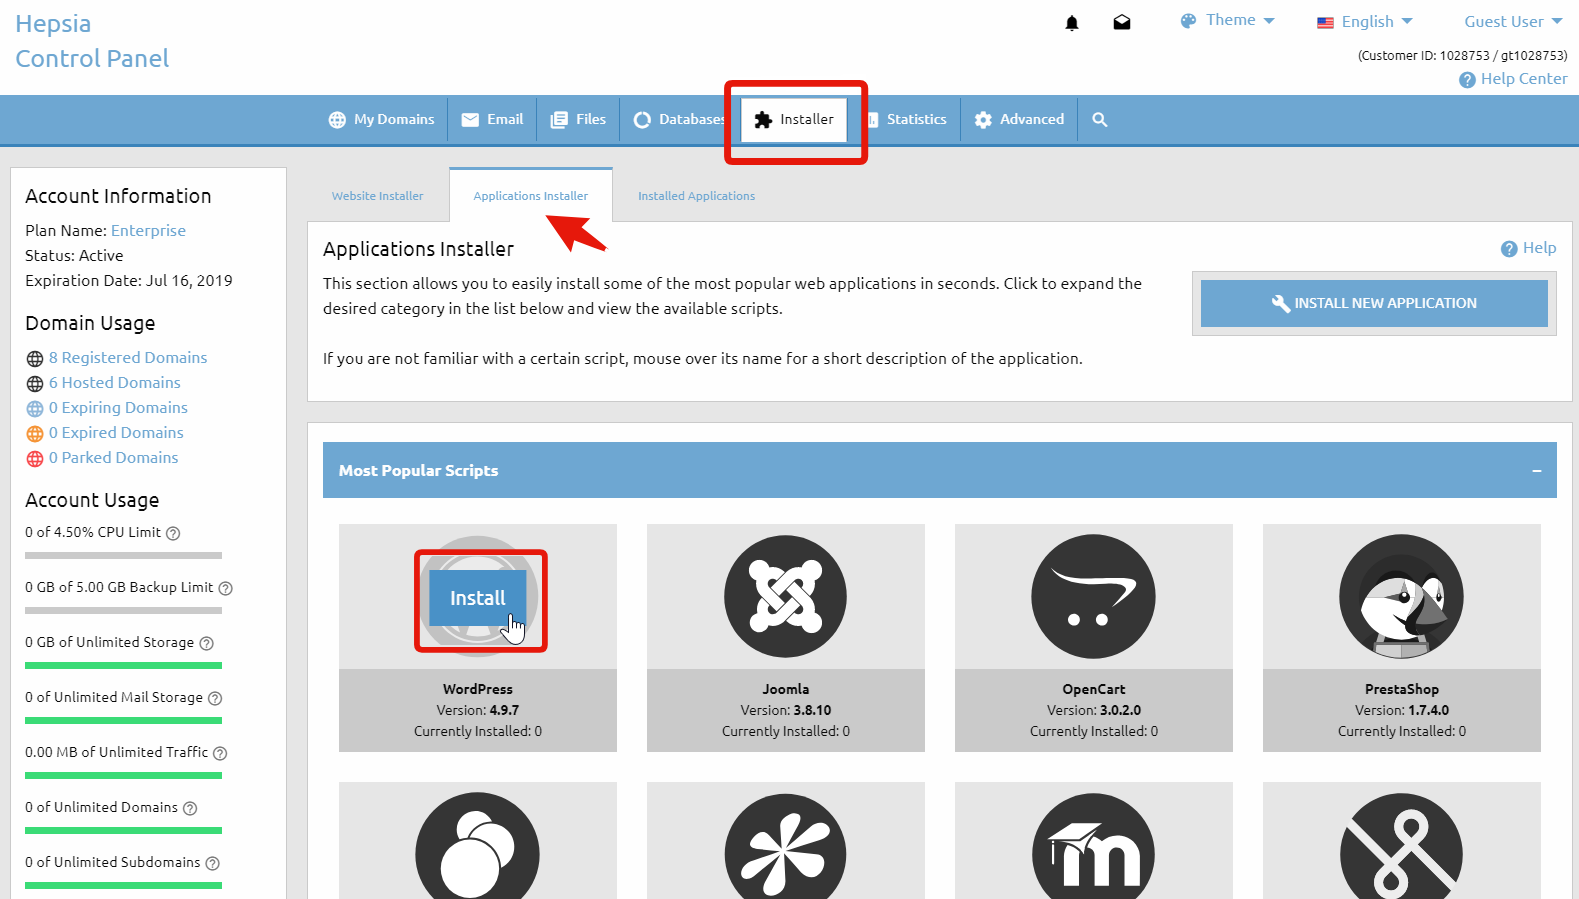
You can see all the applications in the Installer > Applications Installer section of your Control Panel.
They are grouped in a few categories such as Content Management, Blog, Image Galleries, Discussion Boards and more.
By hovering on any of the script titles, a small box with information about that particular script will pop up.
You will also see the following information about the script: version and how many times that script has been installed in your account.
Once you have selected a script that you want to install, simply click on it.
On the next screen you will see the settings for the script installation. These include:
- Domain – choose the domain name for which you are installing the script, for example my-best-domain.com. You will see all hosted domains in the drop-down menu.
- Path – choose the path where the script will be installed. If you want the script to load when you type www.my-best-domain.com, leave only “/” for the path. If you are installing a forum, you may type “/forum“, so the forum will be accessible at www.my-best-domain.com/forum
- Admin user – the user account with administrator rights. The default name is admin, you may change that name.
- Admin password – the password for the administrator account.
- Admin mail – that is the email where you will receive any script notifications, retrieve your password, etc.
- Weblog title – choose the name of your blog
- Database prefix – a prefix for the database tables used by the script that prevents one script record from interfering with another script record in the same database. You may leave the default prefix.
Depending on the application, you may have to type your name, the website name, city, or choose the default language and country.
If you do not have a database, you can pick Create a New Database.
All you have to do is choose the database name and password, then click on Add a New Database.
You have and other option – Automatic dabase Creation.
If you have several databases, then you can pick a second option (Select Database) and you will be able to choose the one that you prefer to use.
The next step is to install the application. To do that just click on the Install button.
Our system will install the script in a few seconds.
On that new page, you will see short information about the script that you have just installed.
The most important information that you need is the Admin URL– the web address where you can log in as an administrator and manage the script.
If you have several applications installed in your account, you can see a list of all of them in the Installer section > Installed Applications.
There are few columns:
Website URL – where the script has been installed;
File Manager – gives you quick access to the script files;
Backup;
Details – information about your admin panel;
Set Template – you can change template of your installation;
Admin password;
Delete;
If you click on Details, you can see a small window with the Admin user name and password, which database that script is using and a Login button (Visit Admin Area) that will allow you to log into the admin area of the application.
Leave a Reply